


Introduction
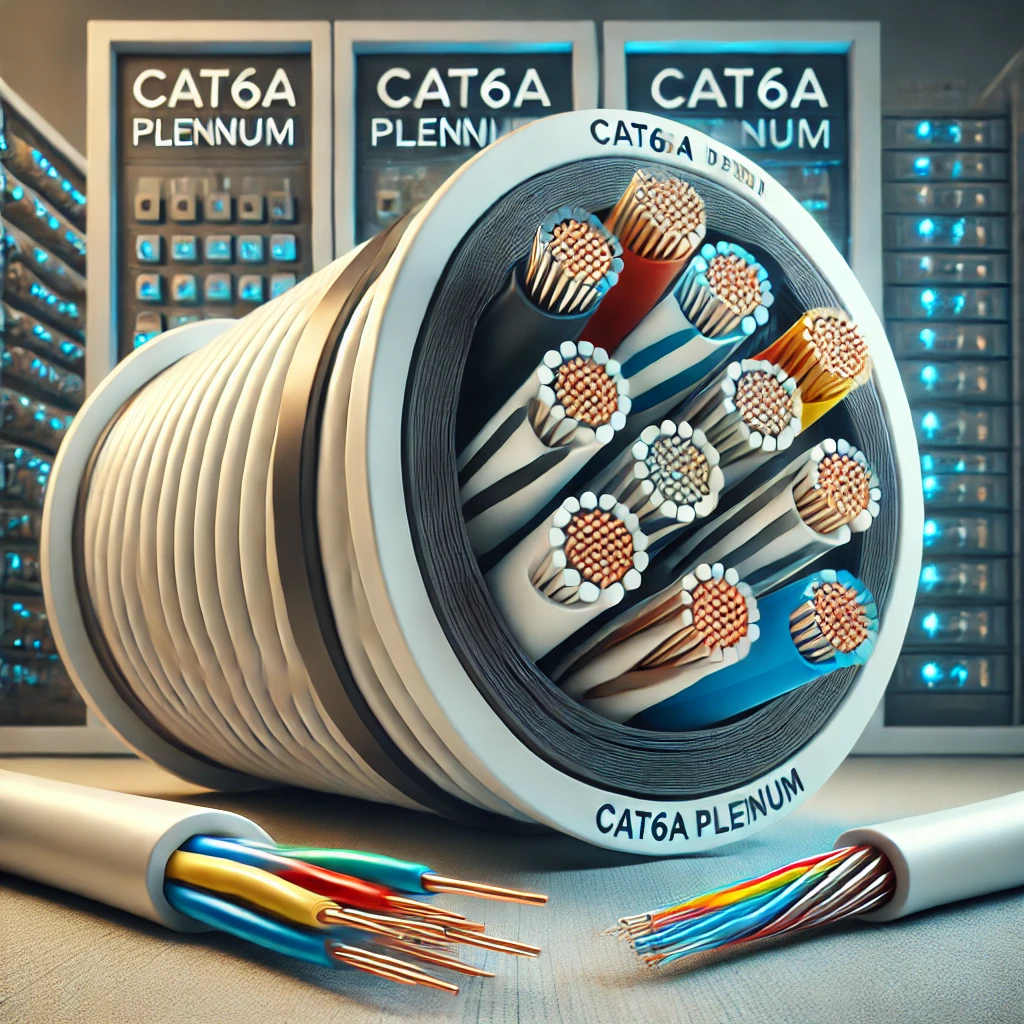
Cat6A Plenum UTP (Unshielded Twisted Pair) cables are essential for high-speed networking in commercial and residential buildings. These cables provide enhanced bandwidth, reduced crosstalk, and excellent performance in high-interference environments. Proper installation is crucial to maximize their efficiency and longevity. In this guide, we will walk you through the best practices for installing Cat6A Plenum UTP cables while maintaining optimal performance.
1. Gather Required Tools and Materials
Before starting, ensure you have the following tools and materials:
- Cat6A Plenum UTP cable
- Cable management accessories (cable ties, raceways, conduits, etc.)
- RJ45 connectors (for terminations)
- Keystone jacks and patch panels
- Cable tester and certification tools
- Crimping and stripping tools
- Fish tape or cable rods (for pulling cables through walls and ceilings)
- Labels and markers (for organization)
2. Plan the Cable Layout
A well-structured cable layout ensures efficiency and avoids signal degradation. Follow these steps:
- Map out the cable routes to minimize interference and avoid high-voltage power lines.
- Use existing pathways where possible to reduce additional construction.
- Ensure compliance with local and national cabling standards, such as TIA/EIA-568.
3. Proper Cable Handling and Routing
Handling Cat6A Plenum UTP cables properly is crucial to maintaining their integrity.
- Avoid excessive bending: The minimum bend radius should be four times the cable diameter.
- Keep cables away from electrical interference: Maintain at least a 12-inch separation from power cables.
- Secure cables without over-tightening: Use Velcro straps instead of zip ties to prevent damage.
- Follow plenum space regulations: Plenum-rated cables should only be installed in HVAC ducts and other air-handling spaces.
4. Terminating the Cables
Proper termination is key to maximizing network performance.
a. Stripping the Cable
- Use a cable stripper to remove the outer jacket without damaging internal wires.
- Untwist pairs minimally to preserve signal integrity.
b. Punching Down into Keystone Jacks
- Follow TIA/EIA 568A or 568B wiring standards for color-coded terminations.
- Use a punch-down tool to securely attach each wire to the keystone jack.
c. Crimping RJ45 Connectors
- Align wires according to the chosen wiring standard.
- Insert them into an RJ45 connector and use a crimping tool to secure them.
5. Testing and Certification
Testing ensures that the installed cables meet performance standards.
- Use a cable tester to verify continuity and identify miswires.
- Perform crosstalk and attenuation tests to check signal quality.
- Certify the network using a Fluke tester or similar device.
6. Managing and Labeling the Installation
- Use labels on both ends of the cables for easy identification.
- Organize cables into patch panels for a structured setup.
- Implement a color-coding scheme for different networks or applications.
7. Final Inspection and Compliance Check
Before wrapping up the installation, review the following:
- Ensure all connections are secure and free from damage.
- Check for compliance with building codes and industry standards.
- Document the cable routes, terminations, and test results for future reference.
Conclusion
Installing Cat6A Plenum UTP cables properly is essential for achieving maximum network performance. By following best practices for routing, handling, terminating, testing, and labeling, you can ensure a reliable and efficient network infrastructure. Always adhere to industry standards and local regulations to guarantee long-term functionality and compliance.